Especially small businesses and sole proprietors have the opportunity with Facebook Shops to continue their business and move to online business despite many worries and difficulties in the current situation.
People from Facebook, but also from Instagram, can access Facebook Shops to use an online store. Products can be discovered and purchased on the platform. Customers should even be able to buy products within a chat. Contact can be made with potential customers via various channels, such as: Direct messages via Instagram, answering questions via WhatsApp, tracking, ... . 
Categories can also be created in the Facebook Shop to make it easier to discover products. In addition, customizations are possible via the layout, e.g.: Colors are possible. Equally important are images with a suitable design, which strengthen your brand on Facebook and Instagram. Just selling your products online and not having a Facebook store can be a huge opportunity - which is missed.
This article presents the following:
- Setting up a store on Facebook and Instagram with branchbob
- Upload items to a catalog via data feed
1. set up a store on Facebook and Instagram
1.1) Go to the "Create your store" page and click Next.
Products can be easily imported and synchronized with branchbob. 
1.2) Specifying checkout methods.
For customers to come to your store, please choose:
- Checkout on another Website

1.3) Choose the Facebook company page where you want to sell your products.
Select an existing page or a new one for this purpose. If you also sell your goods on Instagram, select your Instagram Business account. After that, enter a business email address. 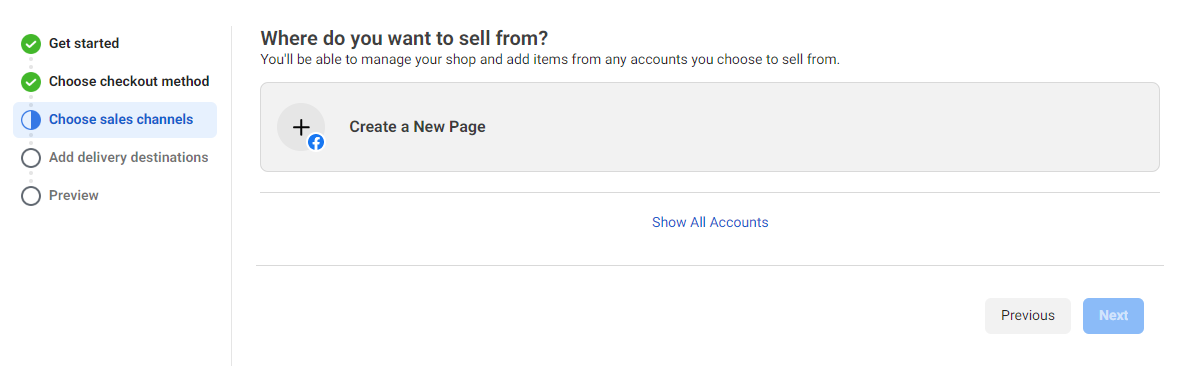
1.4) Link website with store
Please specify which website URL you would like to link to the Facebook Shop.
1.5) Add shipping destinations
Select the countries and regions you want to ship to.
(if necessary, select catalog to be used in your store.
The catalog must meet the catalog qualification criteria for stores and cannot be replaced afterwards).
➔ If there is no catalog, nothing will be displayed in this step. Your items can be added later when your store is ready.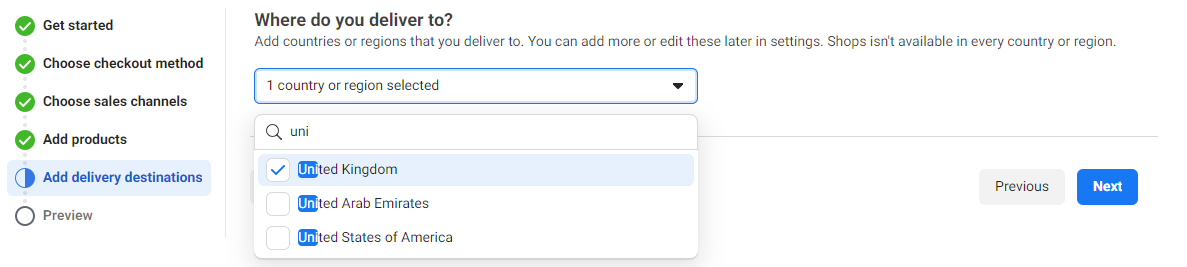
1.6) Checking the store details
Check the store details and read the seller agreement, then you can complete the facilities!
Your store has now been successfully created!
Congratulations! 🚀
2. Upload articles to a catalog via data feed.
2.1) In the branchbob Cockpit you will find a link under Promotion➔ Facebook Store that you can use for the Facebook Commerce Manager.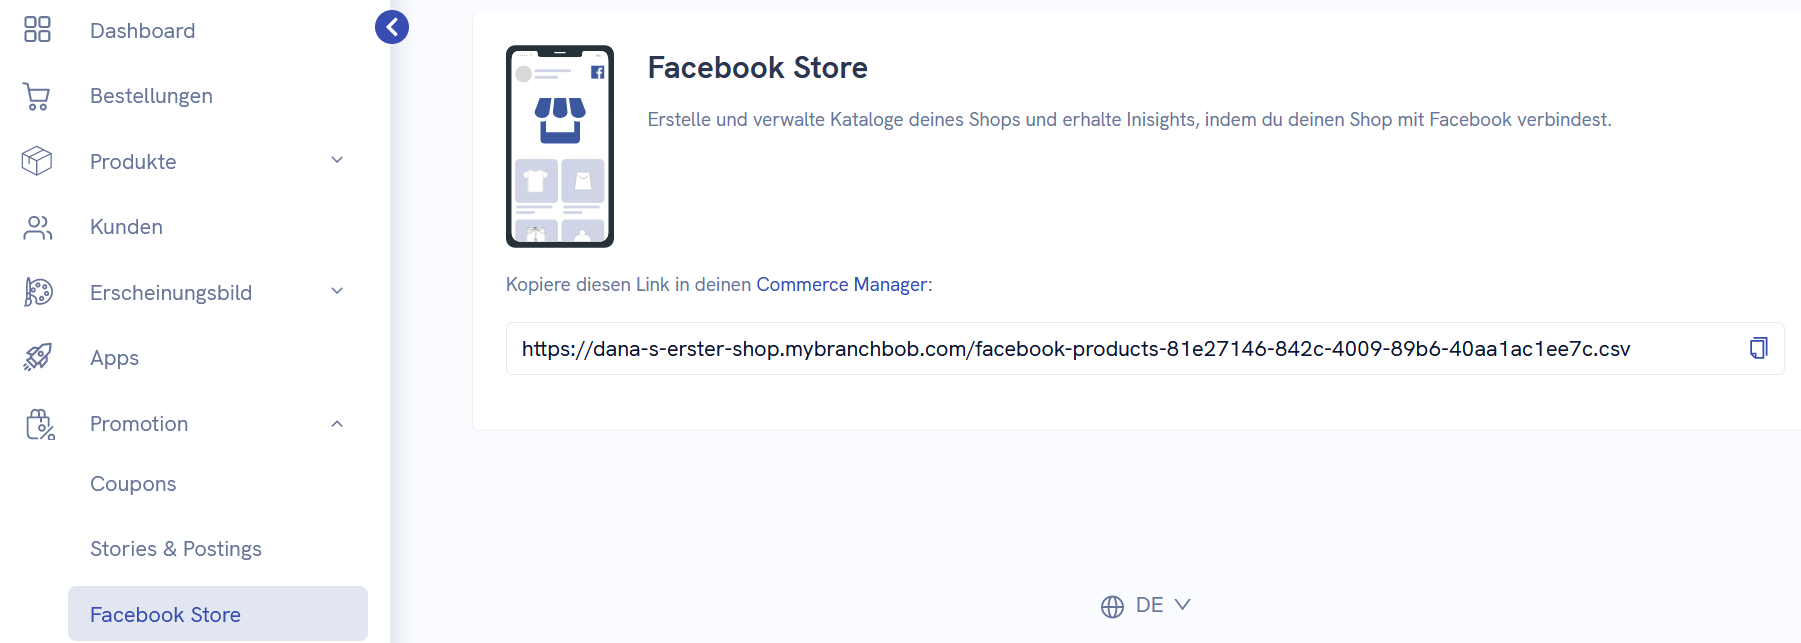
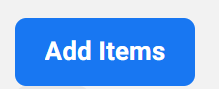
2.2) Now go to your Facebook Store ➔ Commerce Manager ➔ Catalogue ➔ Data sources. Use the "Add items" button to add single or multiple items.
2.3) Wähle aus den Optionen "Data feed" aus.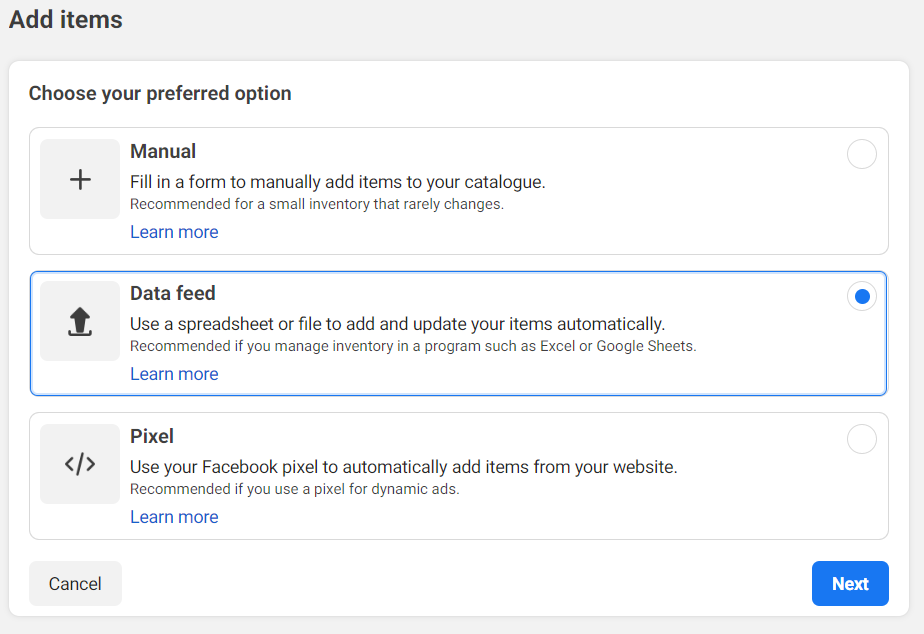
2.4) Select "Yes" to upload a data feed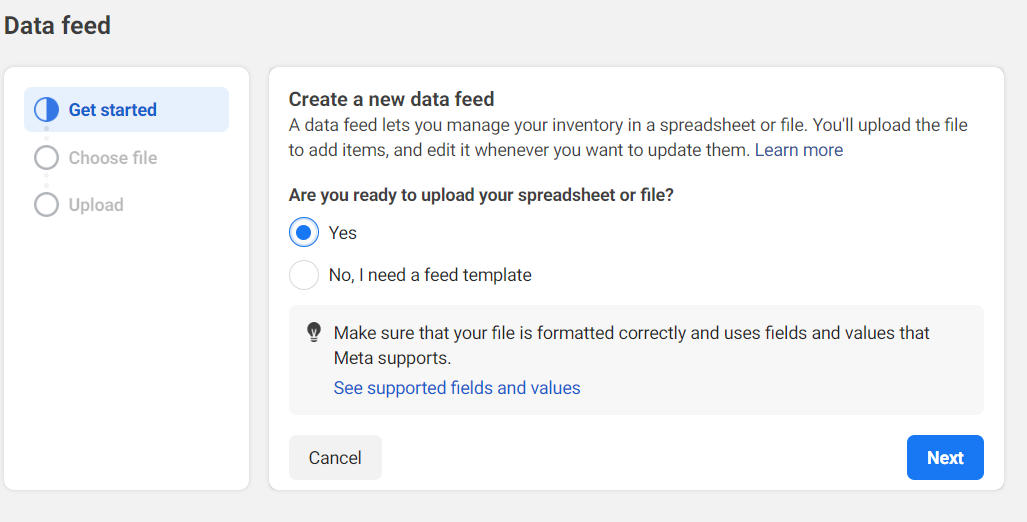
2.5) In the next step, select "Use a URL". Enter the link you copied in your cockpit. Then click on "Next".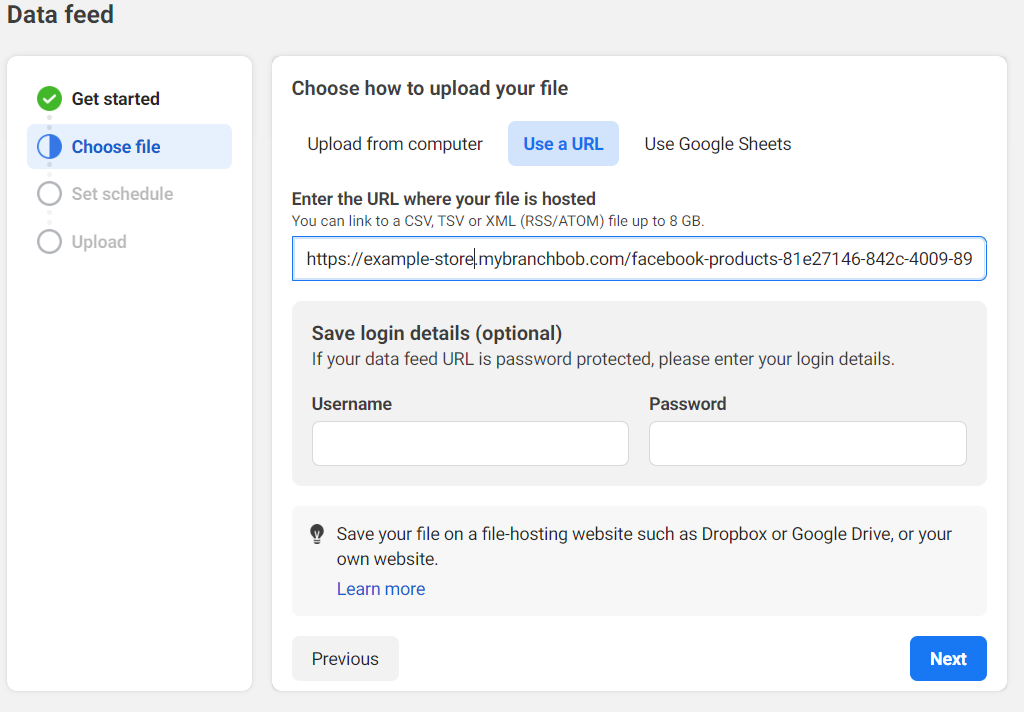
2.6) Choose how often you want your data feed to be updated.
Then click on "Next".
2.7) Here you will find an overview of your data feed, click on "Save Feed and Upload" to upload your feed.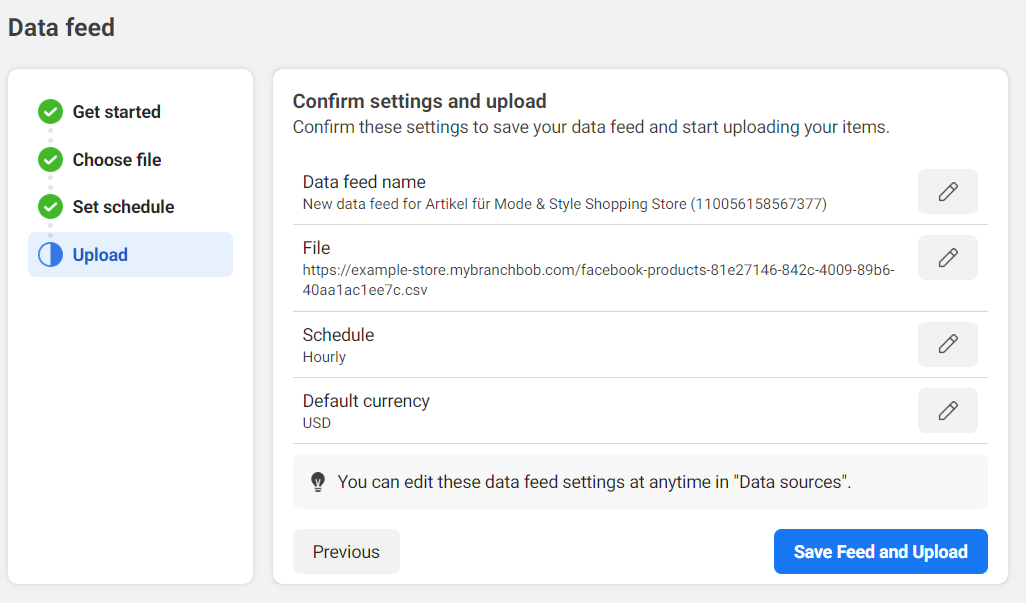
Your data feed is now displayed in the data sources. Here you can edit and configure the settings of your data feed.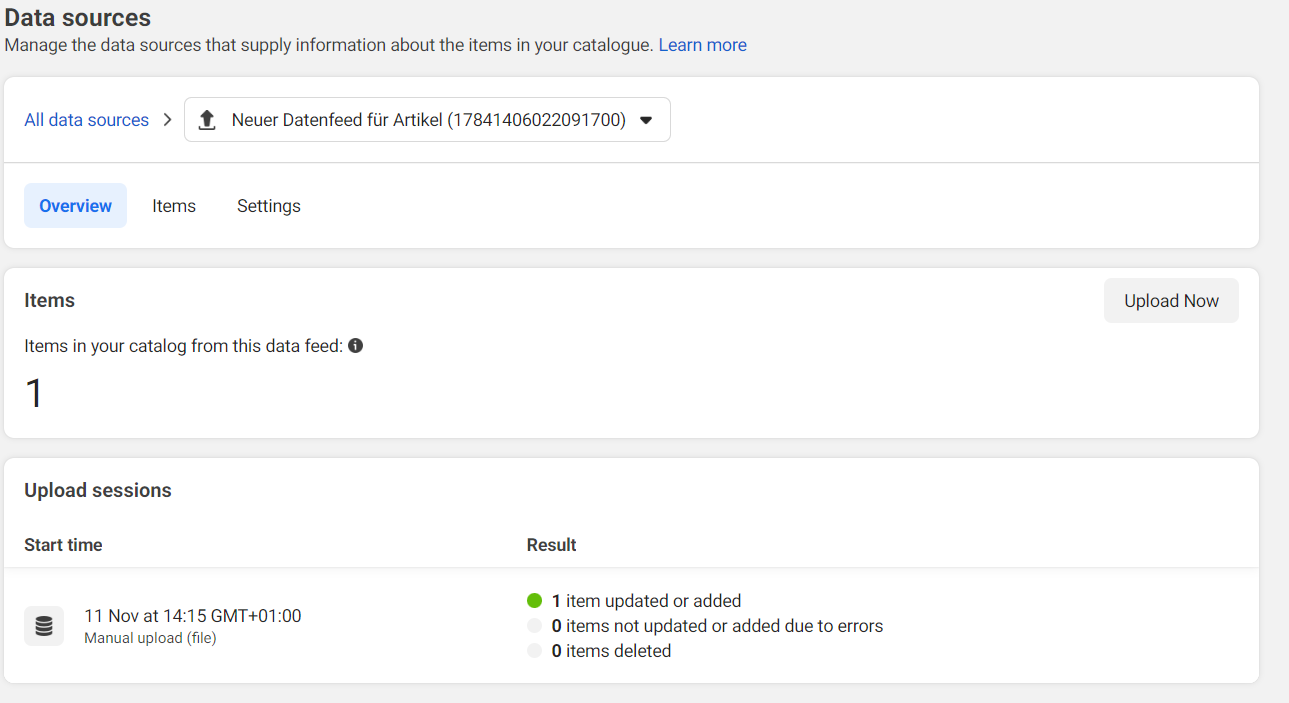
Your data feed has now been successfully created and uploaded! Congratulations! 🚀
For further optimization you can and should do the following:
- Manage catalog
- Create collection (group of products that will be highlighted in your store)
- Customize appearance of your store
- Publish store