What is Facebook Pixel
The Facebook Pixel helps you to measure the efficiency of your advertising by analysing the behaviour of your customers in your store.
Facebook Pixel allows you to track so-called "events" of your customers or store visitors. Such events are, for example, the addition of a product to the shopping cart. You can freely configure the events that you measure in the Facebook Event Manager. With the help of this data, you can adapt and optimise your advertising campaigns on Facebook. You can address your target group more precisely, reach new customers and increase your sales. You can find these results in the Facebook Events Manager.
To use the Facebook Pixel, you need to follow these steps:
First create the pixel and then connect it to your branchbob store. If a Facebook or Instagram user comes to your store via an advertisement, Facebook is aware of this. The pixel helps you to recognise who your customers are. In addition, you can address the customers who have already visited you again with advertising.
The pixel offers you the possibility to see your conversion directly, which makes it clear how much revenue your advertising budget brings in. A conversion describes the purchase of a product in your online store through advertising.
Create a Facebook Pixel
You create the pixel directly in your Facebook account, in the Event Manager. There you can click on "Connect data source" and you will be guided to create the pixel. You can find more information here.
Connect Facebook Pixel with branchbob
Connecting Facebook pixel with branchbob is super easy! Follow the steps below:
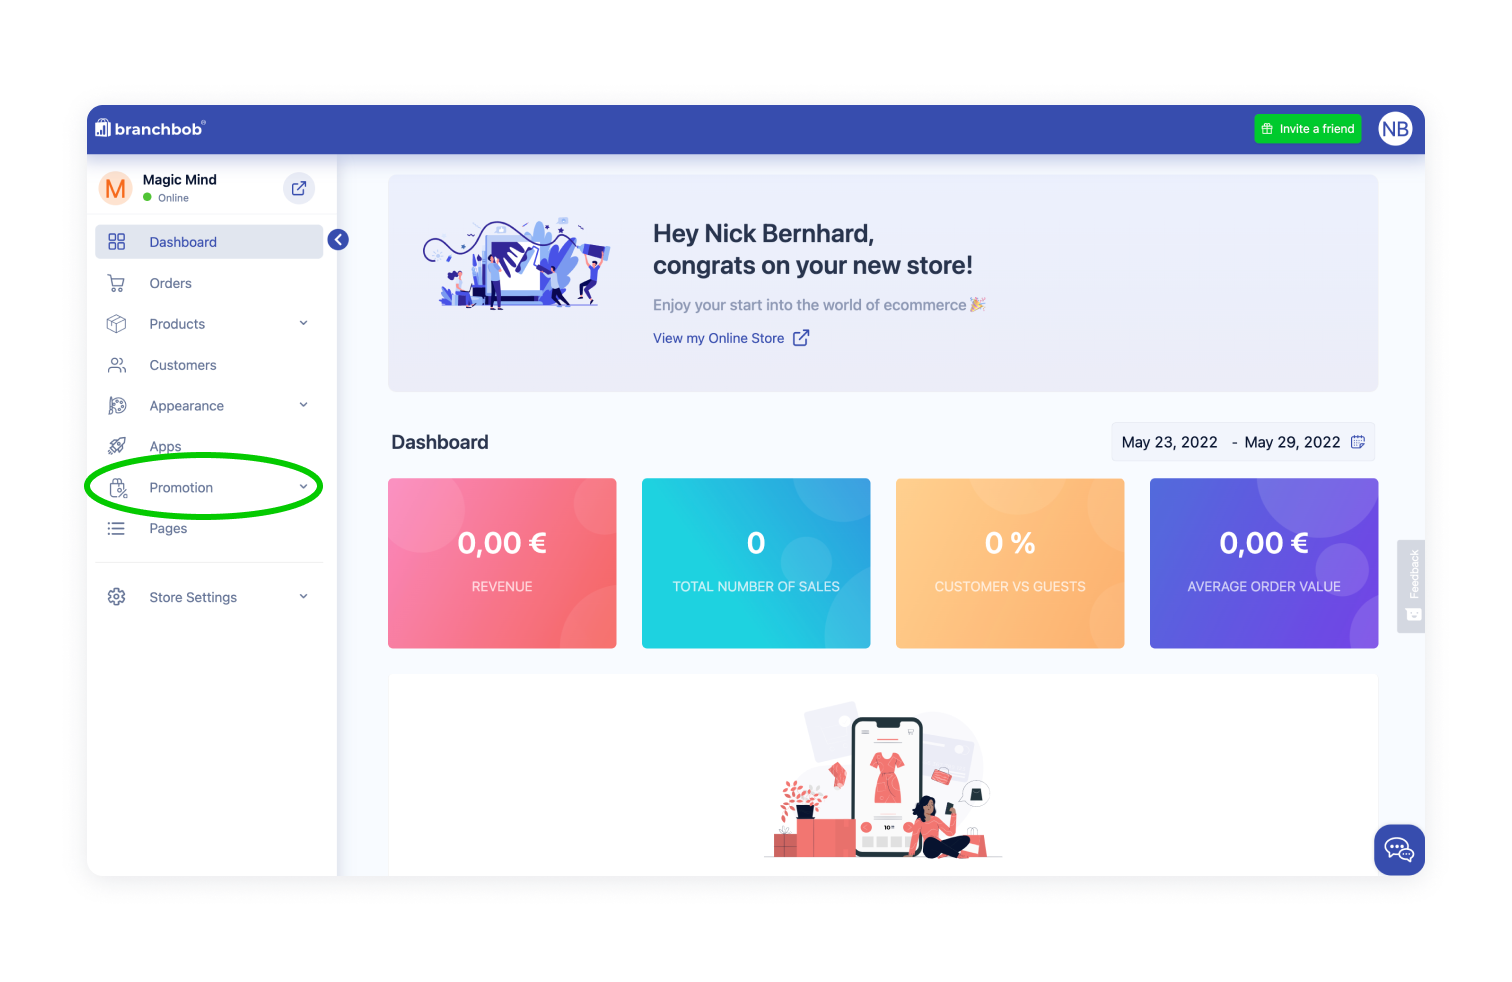
1. Click on "Promotion" in the branchbob-Cockpit
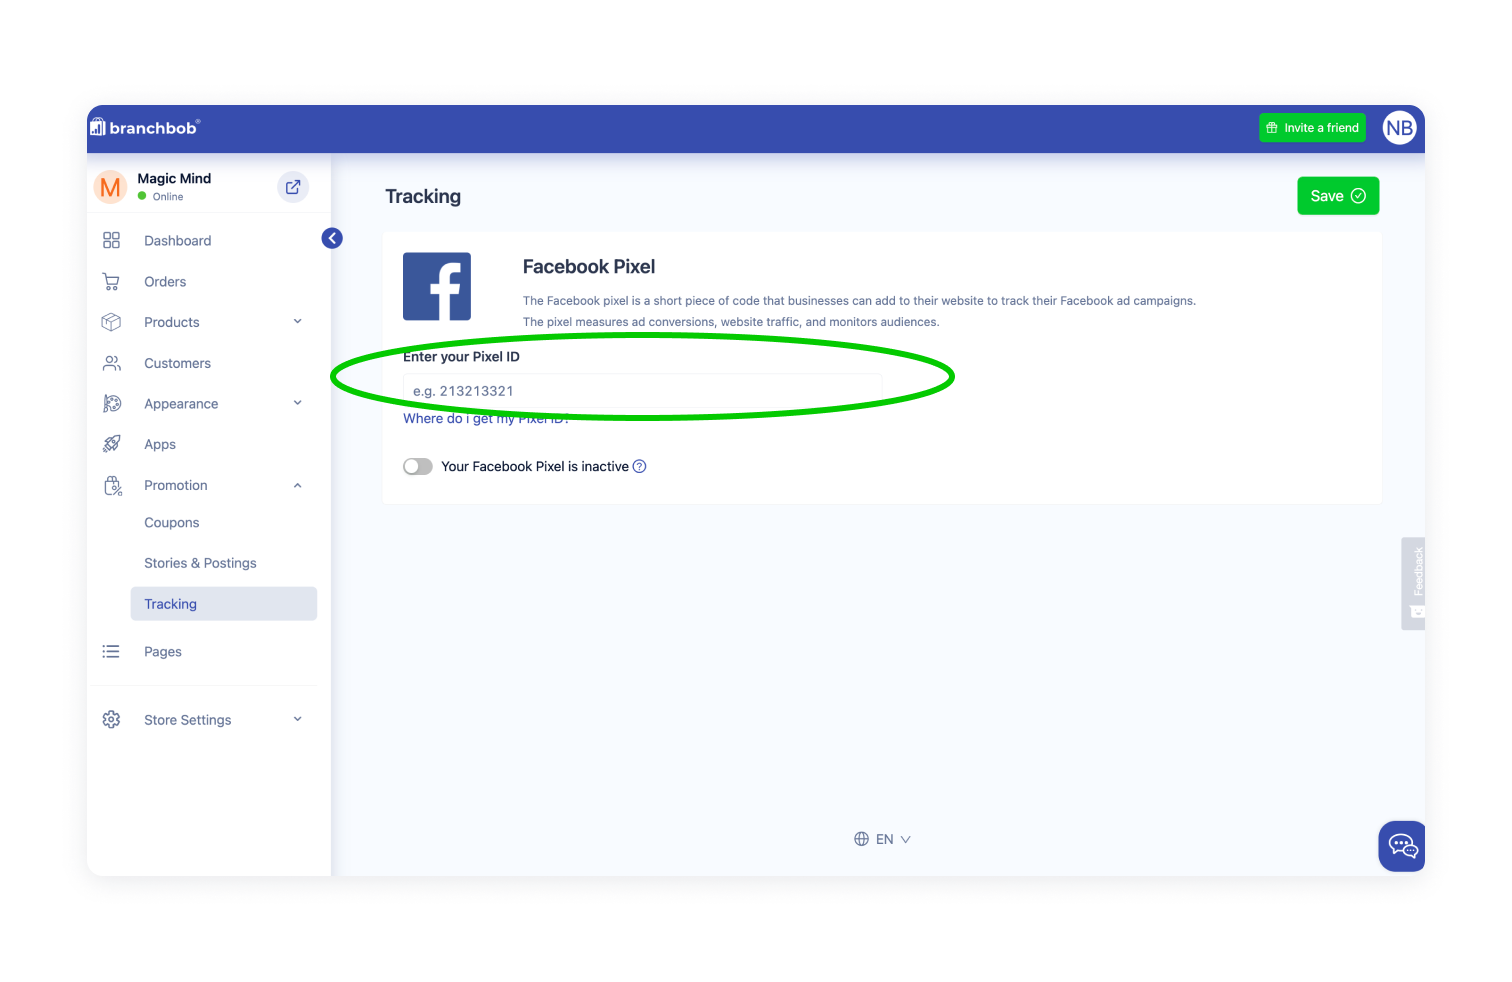
2. Click on "Tracking"

3. Search for the Facebook Pixel

4. Enter your Pixel ID in the field provided for this purpose
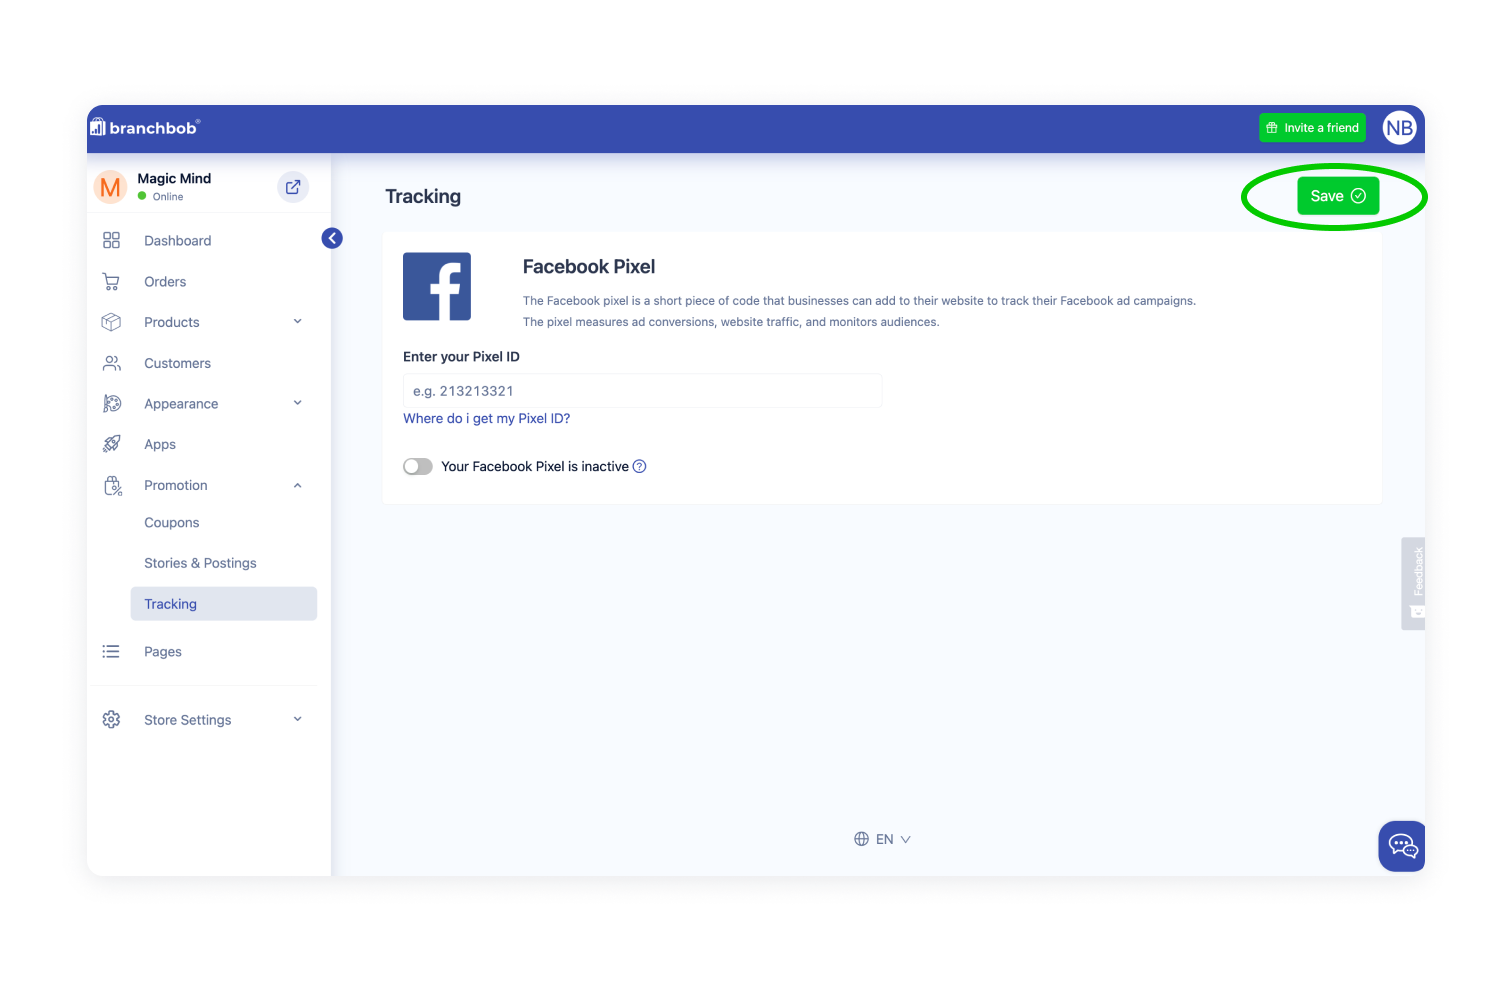
5. Finally click on "Save"
You have now connected your Facebook pixel with your shop, evaluate the data in the event manager of Facebook. We wish you much success with your campaigns!